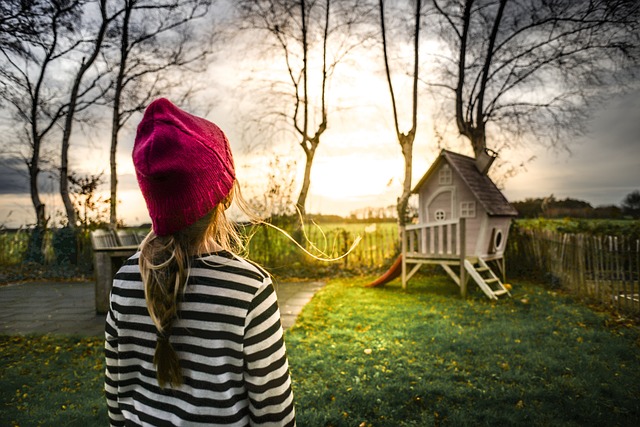
Building a tiny house in your backyard might seem like a huge project, but with the right plan, it’s totally doable—even if you’re not a seasoned builder. Tiny homes are becoming more popular because they offer affordable living, eco-friendly options, and a minimalist lifestyle. Whether you’re thinking about creating a guest house, a home office, or even a rental unit, here’s a casual guide to help you get started on building your own tiny house.
Why Build a Tiny House in Your Backyard?
Before we dive into the process, let’s look at why building a tiny house in your backyard could be a great idea:
– Extra Living Space: If you need a place for visiting family or friends but don’t want them taking over your entire house, a tiny house gives them their own cozy space.
– Home Office or Studio: Many people are working remotely now, and a tiny house can be your personal office away from the main house, helping you separate work from home life.
– Rental Income: You could rent it out as a short-term or long-term rental for some extra income. Tiny homes are hot right now in the Airbnb market.
– Sustainable Living: Tiny homes require fewer materials and are more energy-efficient, which is great for the environment and your utility bills.
Now that you’re sold on the idea, let’s talk about how to build a tiny house in your backyard!
- Read also : DIY Rabbit Hutch Ideas
Step 1: Check Local Regulations and Permits
Before picking up a hammer, the first thing you need to do is research local regulations. Many cities have zoning laws that restrict building a tiny house in your backyard, especially if you plan to use it as a rental unit. Check with your local municipality to understand rules like:
– Setback requirements: These dictate how far your tiny house has to be from property lines, trees, or other structures.
– Building permits: Depending on the size and use of your tiny house, you may need to obtain a building permit. Some areas might have strict codes regarding the foundation, plumbing, and electricity.
– Utility connections: If you plan to hook up your tiny house to water, sewer, and electricity, this could require additional permits.
Pro tip: Tiny houses on wheels (THOWs) often have fewer restrictions, so check if that’s a loophole in your area if the regulations seem tricky.
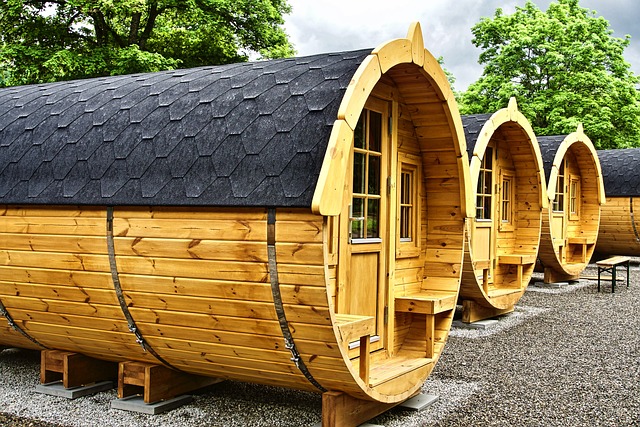
Step 2: Plan the Design of Your Tiny House
When it comes to designing a tiny house, it’s all about maximizing space without sacrificing comfort. Think about how you plan to use your tiny home and build around those needs. Whether you’re designing it yourself or working with a professional, here are a few things to keep in mind:
– Size: The size of a tiny house usually ranges from 100 to 400 square feet. Consider what’s realistic for your backyard space and your needs.
– Layout: Open layouts work best for tiny houses because they create the illusion of more space. Built-in furniture like beds, tables, and benches help save room while still giving you all the essentials.
– Storage: In a tiny home, every inch matters, so get creative with storage. Think about using stairs with storage underneath, built-in shelving, or hidden compartments.
– Loft Space: If you need more room but want to keep the footprint small, loft spaces are perfect for sleeping areas or extra storage.
Pro tip: Check out Pinterest or Instagram for tiny house design inspiration. There are tons of clever ideas out there that show how to make the most of small spaces.
Step 3: Set Your Budget

Now that you’ve got an idea of what you want, it’s time to set a budget. Building a tiny house can be surprisingly affordable, but costs can add up quickly depending on the materials you choose and how much work you plan to do yourself.
Here’s a rough breakdown of some typical costs:
– Materials: This will likely be your biggest expense, ranging from $10,000 to $50,000 depending on the quality. You’ll need wood for framing, insulation, roofing materials, windows, doors, and finishes.
– Labor: If you’re hiring contractors for parts of the job (plumbing, electrical, etc.), factor in labor costs. If you’re DIY-ing the whole thing, you’ll save here.
– Permits and Fees: Depending on your local laws, building permits and utility hook-ups could run anywhere from $500 to $2,000.
– Furniture and Appliances: Don’t forget to budget for your tiny house’s interior! This includes kitchen appliances, bathroom fixtures, and furniture (like a custom bed or built-in seating).
Pro tip: To save on materials, check out places like Habitat for Humanity’s ReStores, where you can find discounted building supplies.
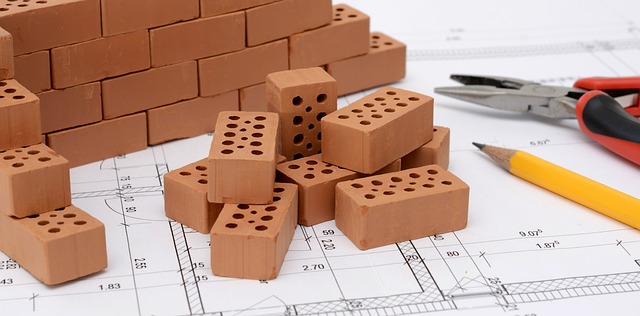
Step 4: Gather Materials and Tools
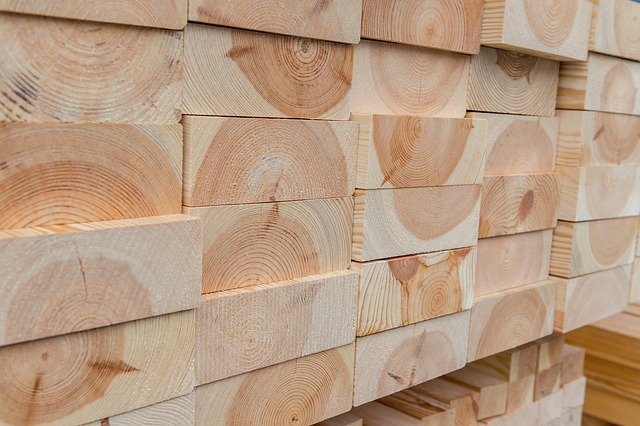
Once you’ve got your design and budget squared away, it’s time to gather your materials and tools. You’ll need basics like:
– Framing lumber (2x4s, plywood, etc.)
– Roofing materials (shingles, metal sheets)
– Windows and doors
– Insulation (especially if you’re building in a colder climate)
– Plumbing and electrical components
– Drywall or paneling for interior walls
– Paint or stain for finishing
In terms of tools, here are a few essentials:
– Hammer and nails
– Power drill
– Saw (circular saw, table saw, or a miter saw)
– Measuring tape and level
– Ladder
– Screwdriver set
If you don’t already own these tools, you can rent them from a local hardware store or borrow from friends to save money.
- Read also : Outdoor Entertaining Space DIY
Step 5: Build the Foundation
The foundation is the first physical step in building your tiny house. Your options for foundations include:
– Concrete Slab: A concrete slab foundation is sturdy and provides excellent support for your tiny house. It’s also low maintenance once it’s poured.
– Concrete Piers: If you live in an area with heavy rainfall or unstable soil, pier foundations allow water to drain underneath the house while keeping it elevated.
– Skids: Skid foundations are great for tiny homes on wheels or for semi-permanent tiny houses. These are easier to build and allow for flexibility if you need to move the house in the future.
Once your foundation is ready, you can start framing the walls and roof. This is where things start to take shape and get exciting!
Step 6: Frame the Structure
Framing is the skeleton of your tiny house. You’ll start by constructing the walls on the ground and then raising them into place. Once the walls are up, add roof trusses to support the roof structure.
Make sure you leave openings for windows and doors as you build. Depending on your design, you might also install skylights or large sliding doors to bring in natural light and make the space feel larger.
Step 7: Install Utilities

Once the frame is up, it’s time to install plumbing, electrical, and HVAC (heating, ventilation, and air conditioning) systems if your tiny house will have them. This is also when you’ll want to insulate the walls, ceiling, and floor to keep the space comfortable year-round.
Installing utilities might require help from professionals unless you have experience. Water lines, electrical wiring, and HVAC units must meet local building codes, so don’t cut corners here.
- Must have : Recommended tools on Amazon
Step 8: Finish the Interior and Exterior
Now that the major construction is done, you can start working on finishing touches:
– Exterior: Add siding, roofing materials, and paint or stain the exterior of your tiny house.
– Interior: Drywall the walls, install flooring, and paint or finish the interior walls. Then, install any cabinetry, countertops, and fixtures like sinks or toilets.
Don’t forget to add final details like lighting, decor, and cozy touches like throw pillows or curtains to make the space feel homey.
Step 9: Enjoy Your Tiny House
Congrats! After all the hard work, your tiny house is ready for use. Whether you’re using it as an office, guest house, or rental unit, you now have a beautiful and functional space in your backyard.
Building a tiny house in your backyard is a rewarding project that can give you extra space without breaking the bank. By following these steps, you’ll be on your way to creating a cozy, functional tiny home in no time!