A green pool is not only an eyesore but can also be a breeding ground for harmful bacteria and algae. Cleaning a green pool might seem like a daunting task, but with the right tools, products, and a systematic approach, you can restore your pool to its sparkling blue glory. In this comprehensive guide, we’ll walk you through the steps to clean a green pool and recommend some effective products and tools available in the US market.
Understanding the Causes of a Green Pool
Before diving into the cleaning process, it’s essential to understand why your pool turned green in the first place. The primary cause of a green pool is algae growth, which can result from:
- Imbalanced Pool Chemistry: Low chlorine levels, high pH, and alkalinity can create an environment conducive to algae growth.
- Poor Circulation: Inadequate water circulation can lead to stagnant areas where algae can thrive.
- Debris Accumulation: Leaves, dirt, and other organic matter can introduce nutrients that feed algae.
Step-by-Step Guide to Cleaning a Green Pool
Step 1: Assess the Situation of Green Pool
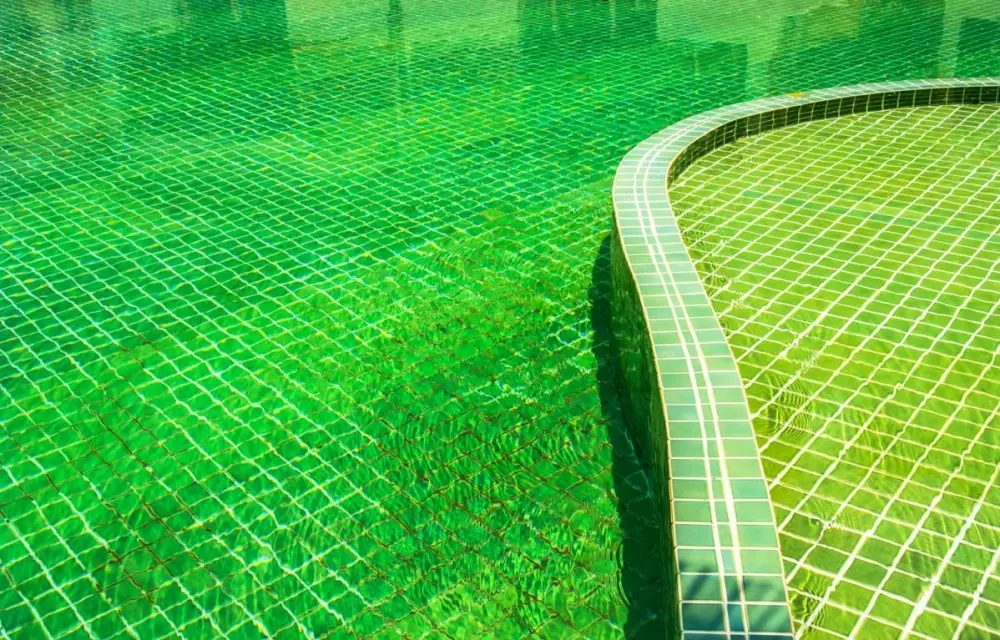
When faced with a green pool, the first step is to assess the severity of the algae problem. Begin by observing the color and clarity of the water.
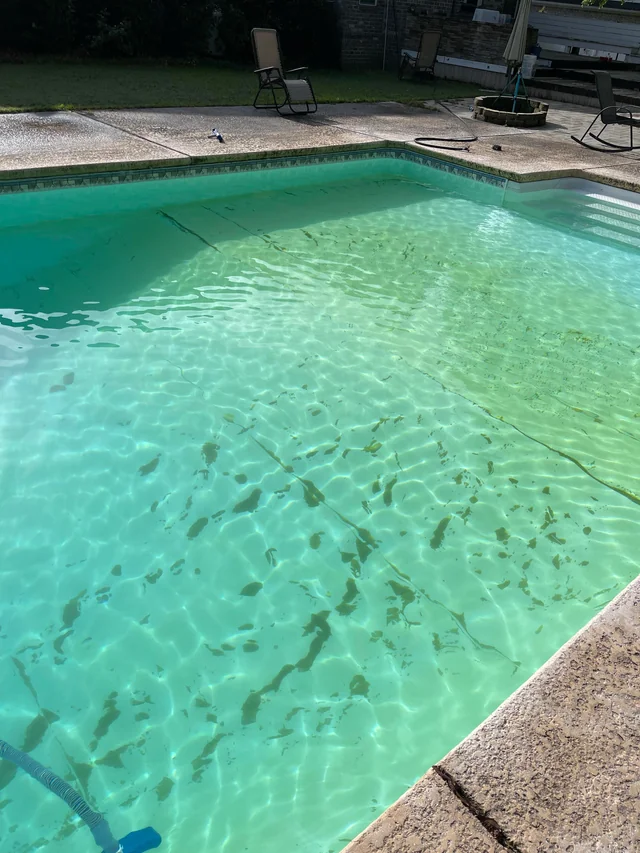
A light green tint usually indicates the early stages of algae growth, while a dark green or even black hue suggests a more severe infestation.
Additionally, check for visible algae clinging to the pool walls, floor, and other surfaces. This initial visual inspection will help determine the extent of the problem and guide the necessary steps for treatment.
Test the pool water to understand its chemical balance. Use a reliable pool testing kit to measure the levels of chlorine, pH, alkalinity, and cyanuric acid. Algae thrive in water with low chlorine levels and imbalanced pH and alkalinity.
Record the results of your tests to identify which chemicals are out of balance. This data is crucial as it will inform the specific treatments required to restore the pool’s chemical balance and effectively eliminate the algae.
Step 2: Gather Your Supplies
You’ll need the following supplies to clean your green pool:
- Pool brush
- Leaf net or skimmer
- Pool vacuum
- Pool test kit
- Algaecide
- Chlorine shock
- pH increaser or decreaser
- Flocculant (optional)
- Pool filter cleaner
Step 3: Remove Debris from the Green Pool
Use a leaf net or skimmer to remove as much debris as possible from the pool. This will prevent the debris from clogging your pool filter and make the cleaning process more effective.
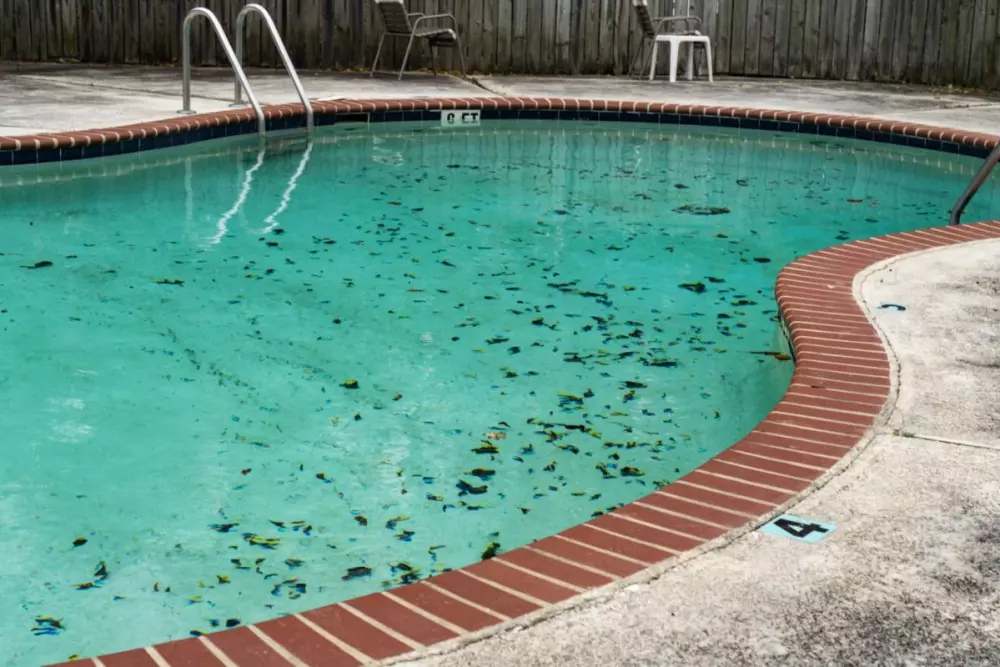
The important step in cleaning a green pool is to remove any visible debris. Leaves, twigs, insects, and other organic matter can contribute to algae growth by providing nutrients that algae feed on.
Using a long-handled pool net or skimmer, carefully scoop out all the floating debris from the surface of the pool. This initial cleanup will make the subsequent steps more effective and prevent the filter system from getting clogged with large particles.
Step 4: Test and Balance the Water of the Green Pool
Use a pool test kit to check the water’s pH, alkalinity, and chlorine levels. The ideal pH range is 7.2 to 7.6, and the alkalinity should be between 80 and 120 ppm. Adjust the pH and alkalinity as needed using a pH increaser or decreaser.
Testing and balancing the water is a crucial step in the process of cleaning a green pool. Begin by using a reliable pool testing kit to measure the levels of chlorine, pH, alkalinity, and cyanuric acid in your pool.
These kits typically come with test strips or liquid reagents that change color based on the chemical composition of the water.
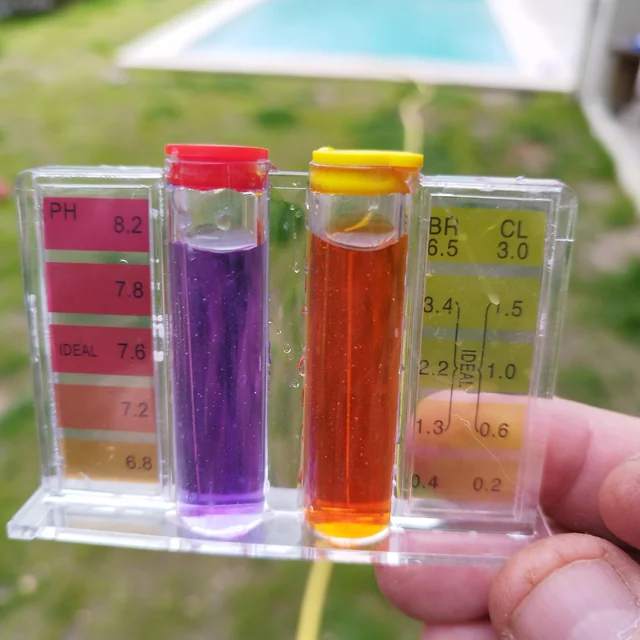
Follow the instructions provided with the kit to obtain accurate readings. Record the results to identify which chemicals are out of balance. For example, low chlorine levels and high pH are common issues that need to be addressed to combat algae growth.
Recommended Product:
- Taylor K-2006 Pool Test Kit: This comprehensive kit tests for free and total chlorine, pH, alkalinity, calcium hardness, and cyanuric acid. It’s known for its accuracy and ease of use.
- AquaChek 7-Way Test Strips: These test strips provide a quick and easy way to test for free chlorine, total chlorine, bromine, pH, total alkalinity, total hardness, and cyanuric acid.
- LaMotte ColorQ Pro 7 Digital Pool Water Test Kit: This digital test kit offers a more modern approach to water testing, providing digital readouts for free chlorine, total chlorine, bromine, pH, alkalinity, calcium hardness, and cyanuric acid.
Step 5: Brush the Pool
Using a pool brush to scrub the walls and floor of the pool is a crucial step in the cleaning process. This action helps to physically dislodge algae that have adhered to the surfaces, making it easier to remove them during the subsequent vacuuming and filtration stages.
Be sure to use a brush appropriate for your pool’s surface—nylon brushes for vinyl or fiberglass pools and stainless steel brushes for concrete or plaster pools. Thoroughly scrubbing all areas, including corners and steps, ensures that the algae are loosened and suspended in the water, where they can be effectively captured by the pool’s filtration system.
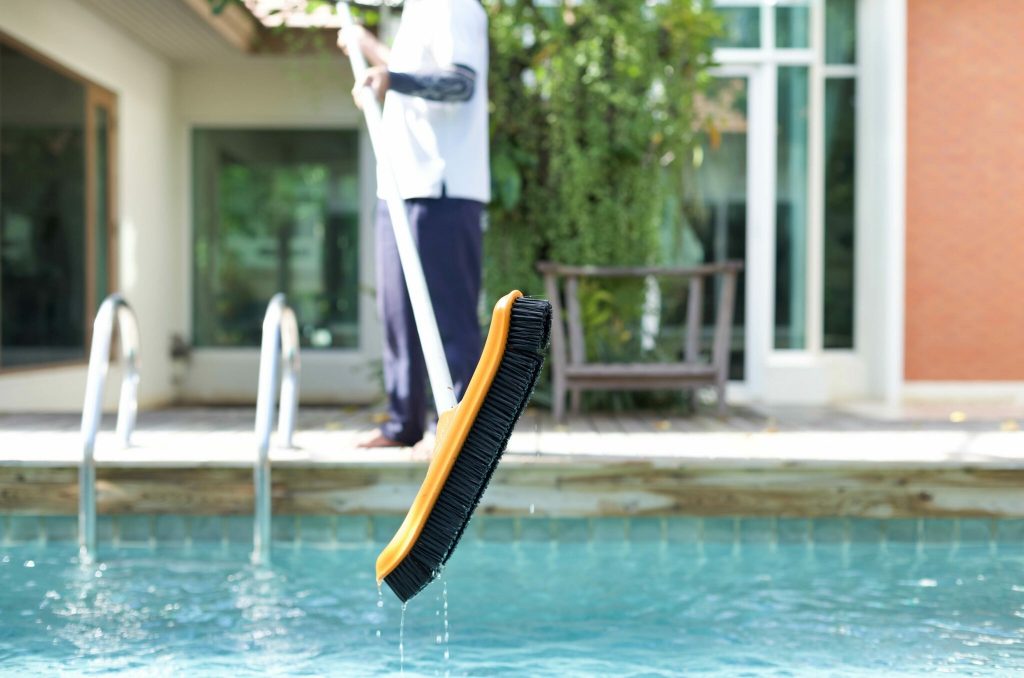
Recommended Product: Milliard Pool Brush
Step 6: Shock the Pool
Shocking the pool involves adding a large amount of chlorine to kill the algae. Follow the instructions on the chlorine shock product for the correct dosage based on the size of your pool.
This process, often referred to as “superchlorination,” rapidly raises the chlorine level to a point where it can effectively eliminate algae and other contaminants. To ensure the best results, carefully follow the instructions on the chlorine shock product for the correct dosage, which is typically based on the volume of your pool.
For example, a product like Clorox Pool&Spa Shock XtraBlue can be found on Amazon and provides specific guidelines on how much to use per gallon of water.
Properly shocking your pool will help restore its clarity and make it safe for swimming again.
Other Product: Clorox Pool&Spa Shock XtraBlue
- Walmart: Clorox Pool&Spa Shock XtraBlue
Step 7: Run the Pool Filter
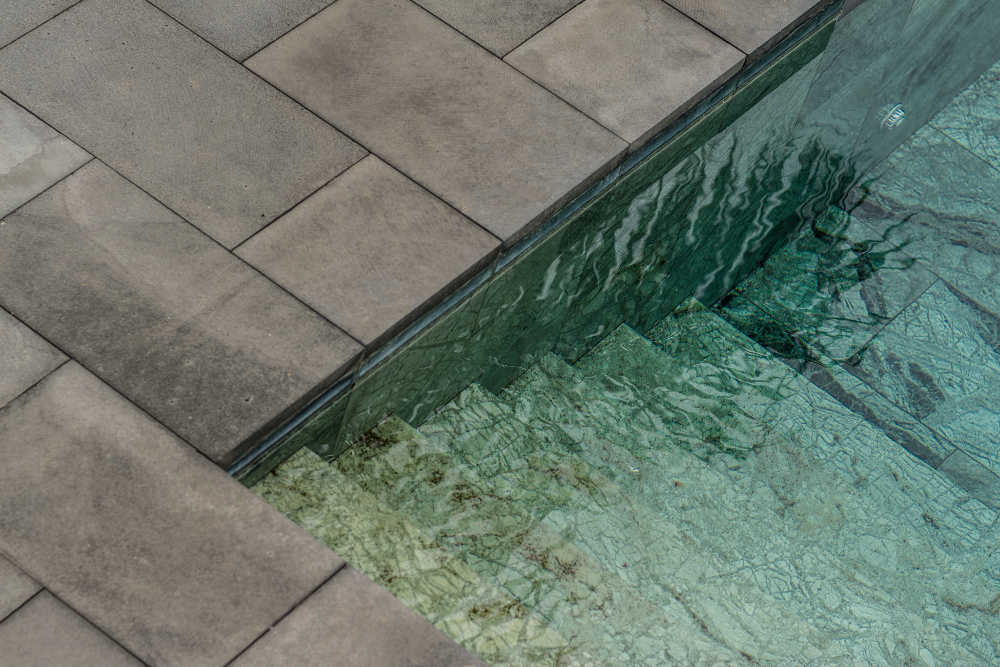
Turning on your pool filter and letting it run continuously for at least 24 hours is a critical step in cleaning a green pool.
This continuous filtration helps to circulate the water, ensuring that the chlorine and other chemicals you’ve added are evenly distributed throughout the pool. It also allows the filter to capture and remove the dead algae and other debris that have been dislodged during the cleaning process.
Make sure to check and clean the filter periodically during this time, as it will likely become clogged with the dead algae and debris, ensuring optimal performance and preventing any potential damage to the filtration system.
Step 8: Add Algaecide
After shocking the pool, it’s essential to add an algaecide to prevent future algae growth and maintain the pool’s clarity. Algaecides work by disrupting the cellular processes of algae, making it harder for them to thrive.
Carefully follow the instructions on the algaecide product to determine the correct dosage based on your pool’s size.
For example, products like HTH Super Algae Guard can be found on Amazon and provide specific guidelines for application. Adding the right amount of algaecide will help create an environment that is inhospitable to algae, ensuring your pool stays clean and clear for longer periods.
Other Product: In The Swim Super Algaecide
Step 9: Vacuum the Pool
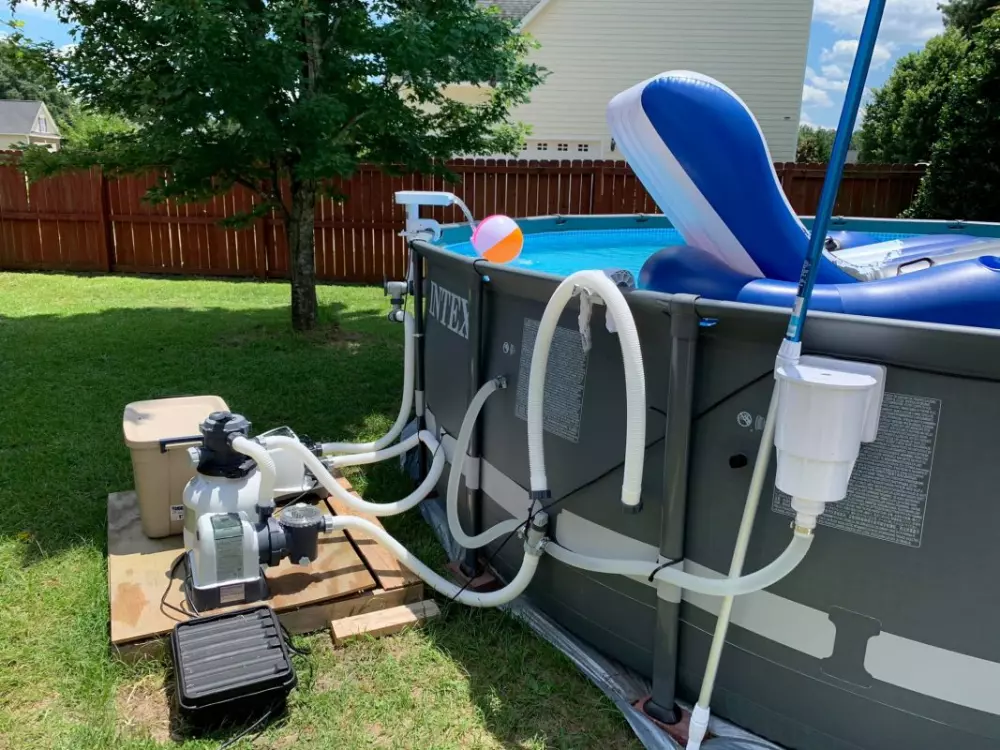
Use a pool vacuum to remove the dead algae and other debris from the bottom of the pool. This ensures that all the loosened particles are effectively removed, preventing them from settling back and causing further issues.
If your pool has a significant amount of debris, consider vacuuming to waste. This method bypasses the filter system, directing the debris-laden water out of the pool entirely, which helps to avoid clogging and potential damage to your filter.
Be sure to monitor the water level during this process and add fresh water as needed to maintain the appropriate level.
Recommended Product: Polaris Vac-Sweep 360
Step 10: Clean the Pool Filter
After vacuuming, it’s crucial to clean your pool filter to remove any trapped algae and debris. This step ensures that your filter can operate efficiently, maintaining proper water circulation and filtration.
A clogged filter can impede water flow and reduce the effectiveness of your pool’s cleaning system, potentially leading to further algae growth and other water quality issues.
By regularly cleaning the filter, you help ensure that your pool remains clear and healthy, providing a safe and enjoyable swimming environment.
Recommended Product: Hayward Pool Filter Cleaner
Step 11: Retest and Balance the Water
Retest the water to ensure that the pH, alkalinity, and chlorine levels are within the ideal range. Adjust as needed to maintain proper water chemistry.
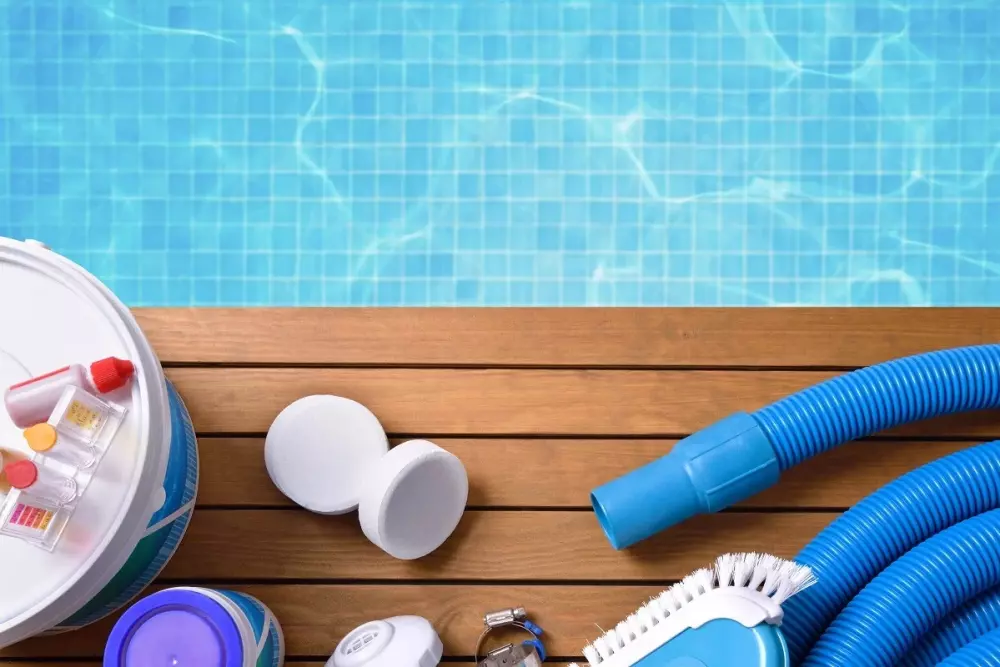
After completing the initial cleaning steps, it’s crucial to retest the pool water to ensure that the pH, alkalinity, and chlorine levels are within the ideal range. Use a reliable pool testing kit to measure these parameters accurately.
- The ideal pH range is typically between 7.2 and 7.6.
- Alkalinity should be between 80 and 120 ppm.
- Chlorine levels should be between 1 and 3 ppm.
If any of these levels are outside the recommended ranges, make the necessary adjustments by adding the appropriate chemicals. Maintaining proper water chemistry is essential for preventing future algae growth and ensuring a safe and enjoyable swimming environment.
Step 12: Maintain Regular Pool Care
To prevent your pool from turning green again, follow these maintenance tips:
- Test and balance the water regularly.
- Run the pool filter for at least 8-12 hours a day.
- Brush and vacuum the pool weekly.
- Remove debris promptly.
- Shock the pool periodically.
Additional Products and Tools
Here are some additional products and tools that can help you maintain a clean and clear pool:
Pool Skimmer
Product: ProTuff Pool Net Leaf Skimmer Rake
Pool Test Strips
Product: AquaChek Pool & Spa Test Strips